How to Record a Podcast on Garageband
Are you interested to start creating your podcast? And do you have a mac at your home? Bingo! Garageband is there to help you start your journey in creating podcast episodes. It helps to record audio for the podcast or personal voice recording. Yes, it is one of the ways to record a podcast episode on mac devices.
Users can create podcasts using GarageBand, which Apple Inc. has developed for macOS, iPad, and iOS devices. Along with iMovie and iDVD, GarageBand was originally a component of Apple’s iLife software suite for macOS. Users can produce many tracks using pre-made MIDI keyboards, pre-made loops, a variety of different instrumental effects, and voice recordings with its music and podcast creation system.
It is quite easier to complete it within multiple steps. In simpler words, it is quite easier than creating a fancy YouTube video. However, it depends on the software you want to record your podcast.
Well, we are talking about GarageBand. Thanks to God, we have the GarageBand app, it makes things easier and is available for free too for mac users.
Are you ready to learn how to record a podcast on Garageband? Yes, then open the GarageBand in the new tab and take a ride with us.
1. Choose the Template
When a GarageBand opens, it will provide you an option to start with a new project either from an in-built factory template or start it as an empty project.
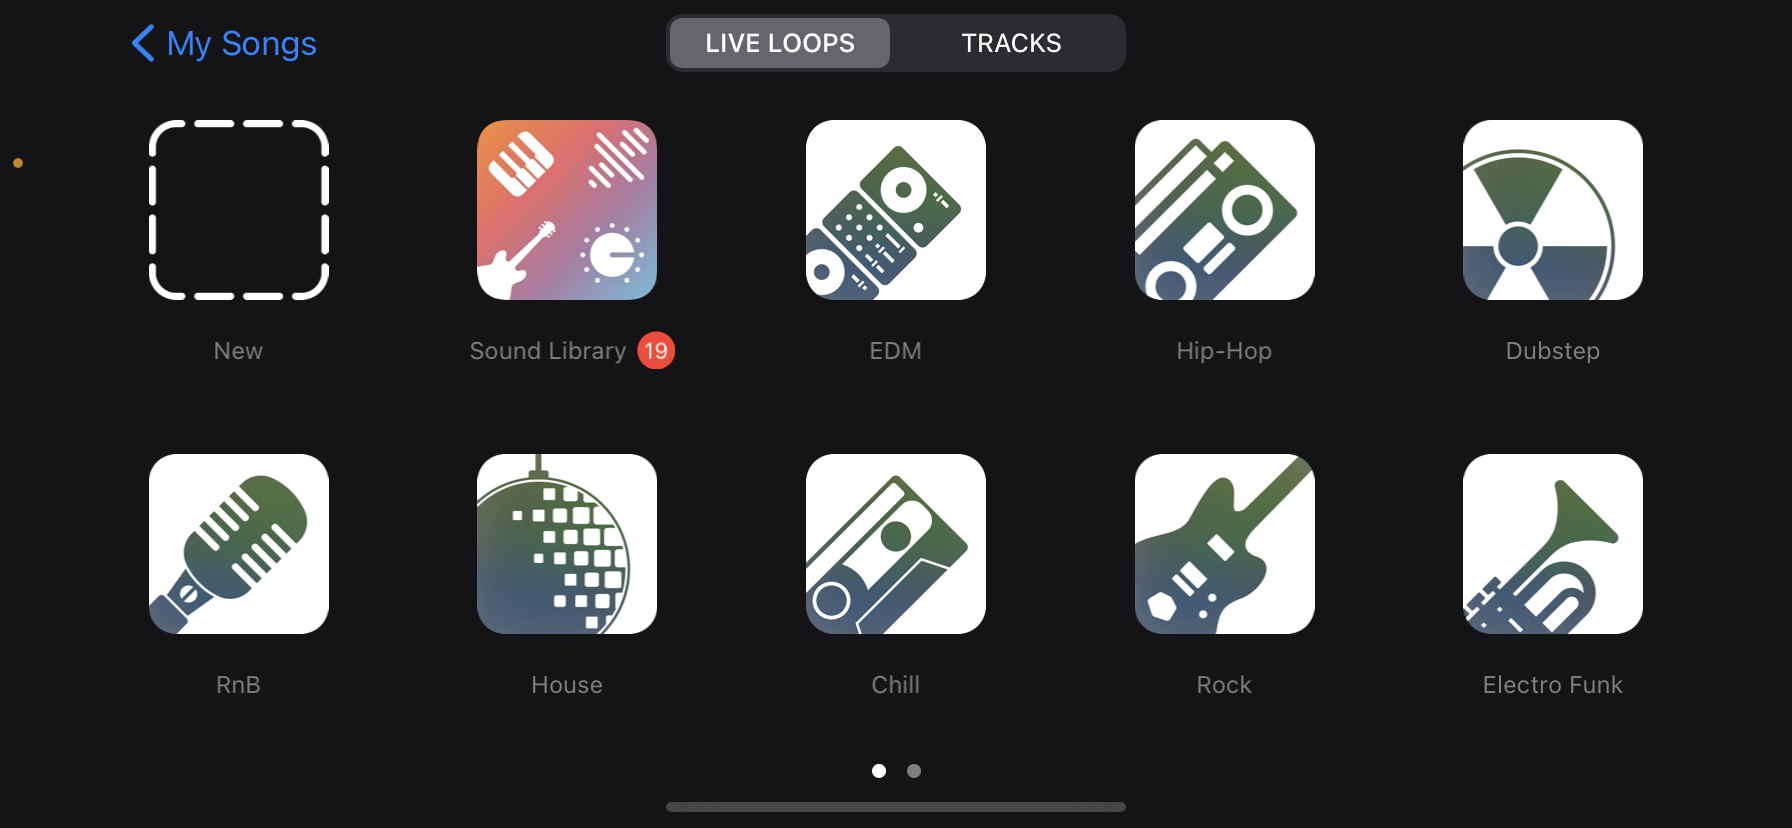
If you are going to create a customized podcast recording template, “New Project” would be a good point to start.
2. Add Your First Track
When the main dashboard opens, it’ll allow you to create your very 1st track choosing from various track types.
Select “Microphone” & then click on “input your mic”.
Then click “Create”.
You can see the track in your project workspace on the right side with the name. Along with that, you can see the library section and settings for that audio track. You can close the library section.
If you want to add multiple mics, click on the “+” (Plus icon) at the top left.
Though, make sure to set the right inputs in settings for the podcast you create. Along with this, you can add music tracks or sound effects you would love to use in your podcast episodes. Isn’t it interesting?
You can do further customization in the template through the transport section and set it accordingly for your future tracks.
You can save it in your desired drive folder by going by File -> Save As.
3. Start Recording
Once your template is ready and all set to record, it is time to move ahead.
Open a saved template and save it as a new audio file.
Thus, the template settings will be the same as you did earlier while recording the audio in the same template file. Your setting will be the same for all your upcoming episodes.
Let’s move forward to record the audio – individually or with multiple guests.
1. Start Recording on a single track
For the single-track recording, you can start by clicking the record button in the transport (Short Key – Press ‘R’).
Ensure your microphone settings are correct & please make a test record to check if all are good or not.
Based on the sound intensity (Too high or too low volume), adjust the input depending on your requirements. In short, speak louder to hear properly but not that much, the intensity meter shows yellow or red.
2. One or More Track Recording
Recording with multiple guests?
You need to record the audio of each guest in a separate track. This gives you ease in mixing the statement of each person by keeping their soundtrack separate.
To add more tracks, hit the “+” icon in the top left & choose the Microphone track. But now, you need to choose the relevant input for each additional mic and then create a click.
While adding the additional track, change the name of the tracker by the person name like “John”, “Scott” and more. to mitigate further issues during podcast editing.
Generally, GarageBand allows users to record one track at a time. To record multiple tracks, you need to follow this and activate it.
Go to Track → Configure Track header (Shortcut option + T).
Just select the box “Record Enable”. Now, it will allow you to record enable button on each audio track.
Now it’s a piece of cake for you. You just need to enable the button for a person who is speaking. To discontinue, just hit the button again. The same way you can with the other speakers as well.
In case of not working, ensure that all the recording settings for every speaker are set with separate inputs.
Please Note: Please keep your outline & questions handy before start recording your podcast episode. It is better to keep water with you to keep your throat hydrated and speak clearly without coughing.
Well, this is it. Yes, it is. Your podcast is created. Now the next one is editing your recorded podcast. GarageBand has some in-hand tools to edit video and most of them are basic.
A few of them are listed below
- Trim: It allows us to shorten the audio track. For example, if the music or tune is lengthier than expected, you can trim it to the appropriate length.
- Split Regions: Access through the Menu bar → Edit → Split Regions at Play Heads (Command + T) to split the selected regions into two and then you can move and trim accordingly.
- Mixing Your Tracks: With this tool, you can make a good balance between the tracks separately recorded like music, narration and guest interview, and more.
After podcast editing, you can save it on your device and listen to yourself to ensure that everything is fine and ready to upload on your po`1dcast-related sites. It is better to save it at a higher quality so, that when you upload it, it remains high quality.
Amongst all the steps, podcast editing is quite tough and requires skills to make your podcast perfect for the listeners. Are you one of those who are still struggling to edit the podcast in the way it should be? You are at the right place. Bare Value can help you get your podcast edited in the right manner and make it according to your listeners’ requirements so, you will get more listening views and convey your message to them efficiently.

View Comments
How to Start a Podcast With No Audience?
Are you interested to start creating your podcast? And do you have a mac at your...